1. Open https://portal.azure.com
2. Go to Microsoft Entra ID and then, In the left menu pane, select Manage -> App registrations
3. Select All applications and search for “TechSafe Entra”. The application TechSafe Entra ID SSO should be listed. See below
a. If the application is not listed, it will need to be created first. Please follow the SSO Setup Guide – TechSafe Mobile Device Management before continuing.

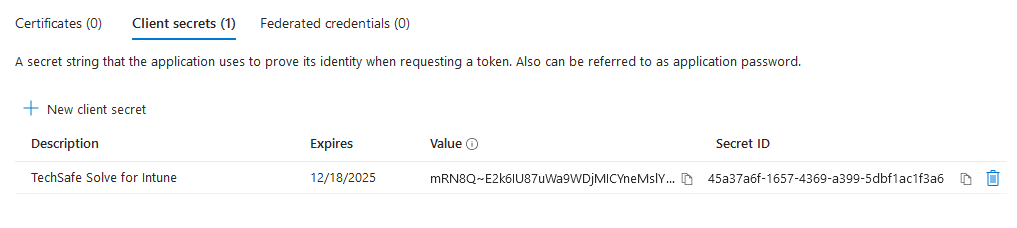
4. Select the application and navigate to Manage -> API permissions
5. In the Configured permissions section select + Add a permission and select Microsoft Graph from the popup pane.

6. Select Application permissions as the type of permissions required.
7. In the search bar enter each required permission listed in the permissions table shown in step 9 and search for it (Make sure there are no additional spaces in the text when pasting into the search bar).
8. If multiple options are listed expand the associated Permission Group, as shown the table, and select the permission followed by Add permissions. An example is shown below:

|
Required Permissions |
Permission Group |
|
Device.Read.All |
Device |
|
AuditLog.Read.All |
AuditLog |
|
DeviceManagementApps.Read.All |
DeviceManagementApps |
|
DeviceManagementConfiguration.Read.All |
DeviceManagementConfiguration |
|
DeviceManagementManagedDevices.PrivilegedOperations.All |
DeviceManagementManagedDevices |
|
DeviceManagementManagedDevices.Read.All |
DeviceManagementManagedDevices |
|
DeviceManagementServiceConfig.Read.All |
DeviceManagementServiceConfig |
|
Policy.Read.All |
Policy |
|
User.Read.All |
User |
10. Once all required permissions have been added you must Grant admin consent.
11. Select Grant admin consent for xxxx, as shown below. If this option is greyed out, your account doesn’t have the required permissions. Please use an account with global admin rights to complete this step.

12. Once granted the status column will be updated with a green tick stating Granted for